The least legit curtain ever

Today on “Stephanie Makes Things” I made a curtain. More accurately, I hung a yard of fabric up and called it a curtain.

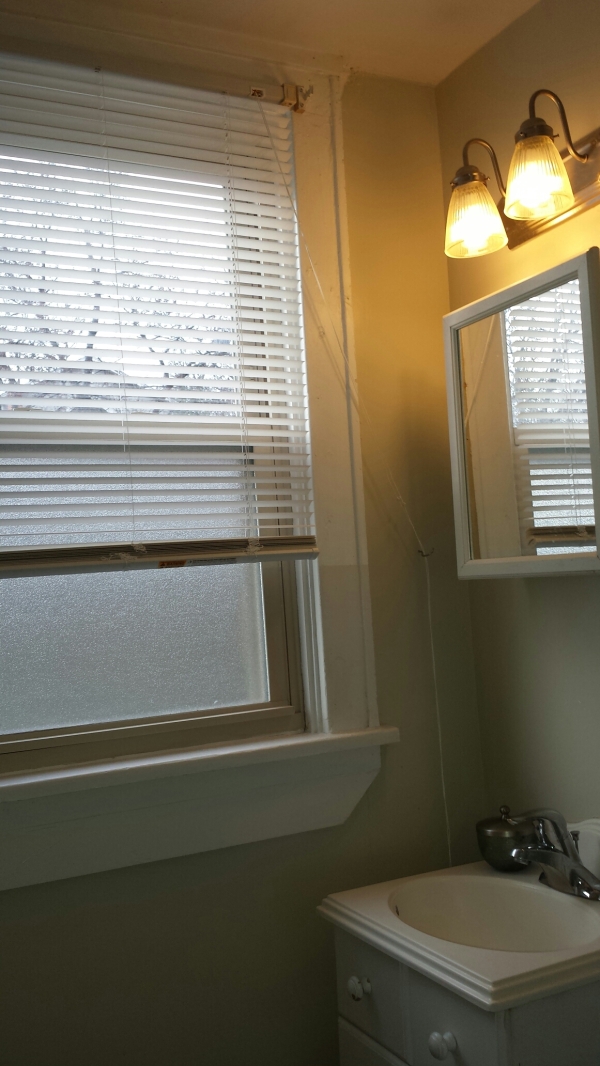
My bathroom window is half frosted, half normal glass, with ugly, cheap plastic apartment blinds. Easy solution: remove blinds and revel in 50% privacy afforded by the frosted lower half of the window. Because I can look out the top half straight out to someone’s front porch across the street, that idea weirds me out.

Here’s the window with the blinds:

image

Meh. Also, please note that I had to stand in the shower to take that photo. My bathroom is that small.

Better solution: a curtain. I wanted something semi-sheer to still allow light. After all, what good is having a window in your bathroom if you’re going to block all the light? Off I went to the fabric store with my coupons!

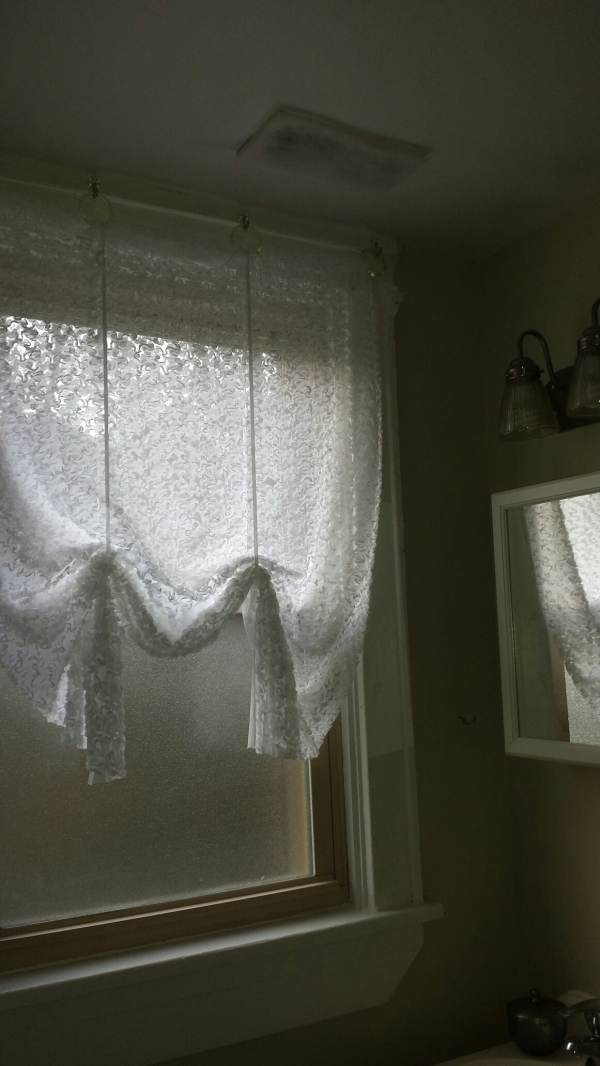
image

Since this is a rental and I don’t have a drill, I opted for the least legit curtain hanging method ever–3M hooks and some plastic shower curtain rings. This is also because I already owned these things and didn’t want to go buy a tension rod.

Serious bloggers, please shield your eyes. I didn’t even hem my fabric. #SorryNotSorry

image

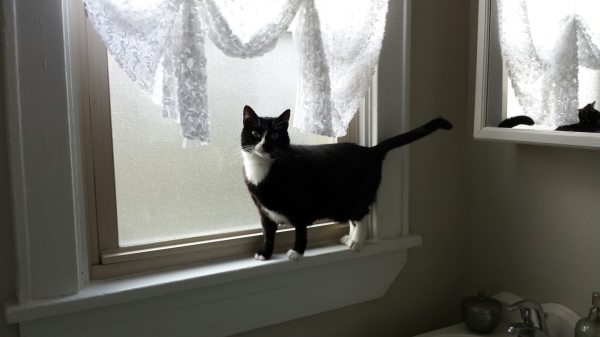
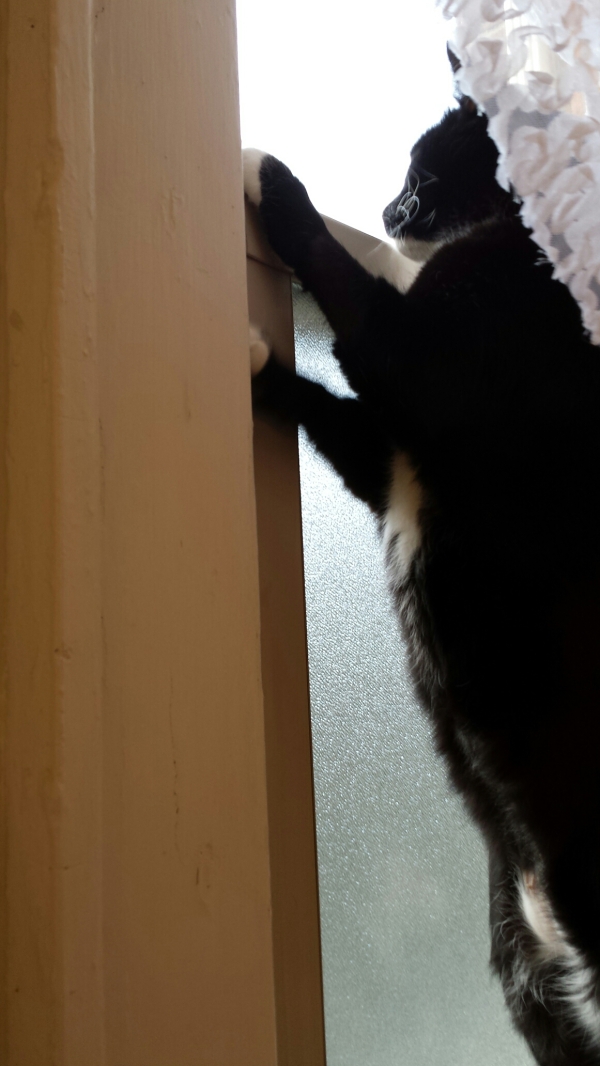
The SassCat loves it. Below is her realizing that if she stands up, she can see out the non-frosted top pane. A whole new world of bird watching just opened up.

image

Gingerbread House Decorating Party

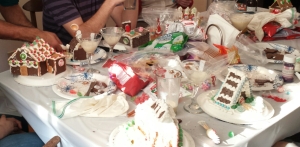
gingerbread houses

Alternate title: The Return of Craft Day.

My coworker hardcore mocked me for this today, but I’m not ashamed to admit that I like to host craft days. Yes, I’m twenty-something years old; yes, I have friends; yes, I like to go out…but sometimes it’s nice to take a break from constantly going out, spending money on dinner/drinks/appetizers, and not really having anything to show for it other than a Facebook check-in and maybe a picture of your dinner. It’s nice to sit down at someone’s house/apartment, have a few drinks with friends, and make something. Plus, I like themed activities.

Past craft days have included terrarium building (epic fail) and snow globe making (much more successful). This winter, I decided on gingerbread house decorating.

building gingerbread houses

gingerbread house decorating

We used graham crackers instead of actual gingerbread. This is:

1. Because I didn’t want to buy 10 gingerbread house kits, and

2. Because I think it encourages creativity when you’re not forced into one specific house shape.

I used this royal icing recipe, which didn’t dry as quickly as I was hoping, but when it did dry, it dried like cement. These gingerbread houses are not coming apart any time soon.

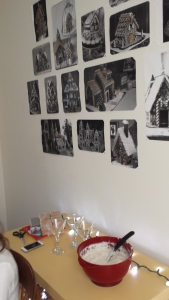
eggnog martinis

Going along with the winter theme, eggnog martinis and winter beers were served. I asked everyone to either bring a seasonal beverage or a bag of candy to decorate the houses with. We ended up with a plethora of candy to choose from and some very festive gingerbread houses.

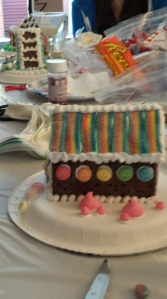
gingerbread houses

gingerbread house

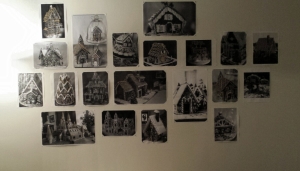
And yes, I created a “gingerbread house gallery wall” for inspiration and decoration.

wpid-2014-12-08-19.27.32.jpg.jpeg

Craft days are the best days. You heard it here first.

Support Sneakers in the Room for Color Contest!

cat on nightstand

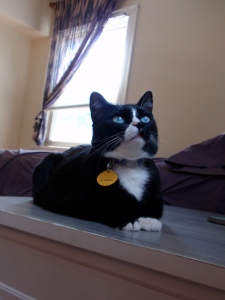
“I really want to become internet famous,” says Sneakers. “Here’s how you can help me out right meow.”

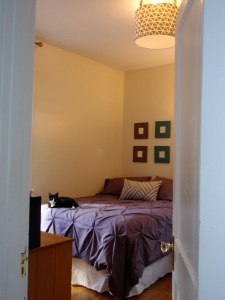
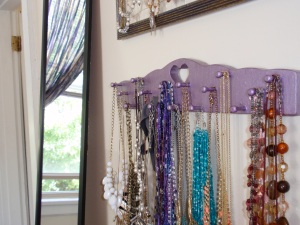
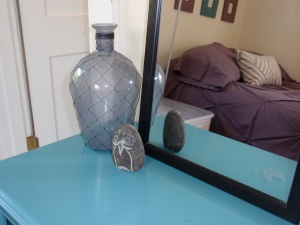
I entered my bedroom into Apartment Therapy’s Room for Color contest, and after much suspense, they finally selected my entry to be posted! Now, it’s up to the readers to vote on their favorite rooms. Won’t you show your support for Sneakers and vote so my room (and thus, the photo of Sneakers) makes it to the next round?

cat on bed

Vote here: http://www.apartmenttherapy.com/stephanies-dusty-lavender-and-teal-room-room-for-color-2014-210811

You do have to create an account to “favorite” a room, but it’s free!

necklace rack

teal cabinet vignette

Coconut chicken

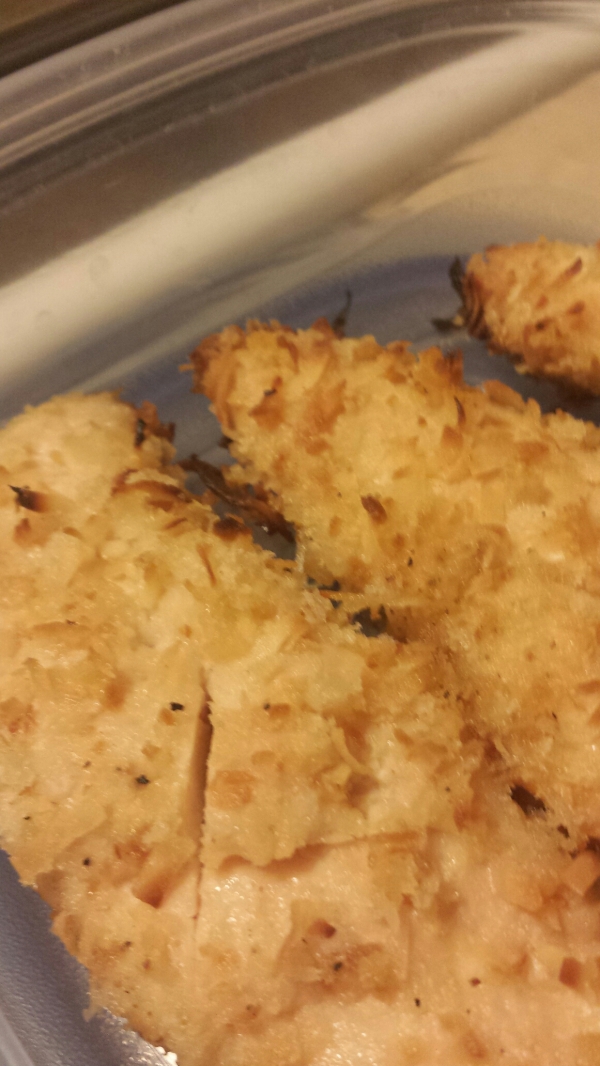
I made this last night out of a whim and desperation because I didn’t have the ingredients for what I intended to make. It turned out great, so here is the “recipe,” such as it is.

image

1 pack thawed chicken tenderloins (you could do chicken breasts too, I was in the mood for pseudo chicken fingers)
2 tsp chopped garlic
1/4 canola or olive oil (I’ve used either and not really noticed a taste difference)
1/2 cup panko crumbs (or any fine bread crumb but panko is better! or I just like Asian things)
1/4 cup to 1/2 cup toasted coconut (I just threw in what I had leftover from a make your own sundae bar, and I didn’t measure)
A little bit of ginger, black pepper, and salt. I just shake things in randomly, sorry!

Preheat oven to 400.
Grease baking sheet if it’s not non-stick.
Mix garlic and oil in one bowl.
Mix panko, coconut, ginger, black pepper, and salt in another bowl.
Dredge chicken pieces in garlic/oil mix and then dip in topping mix. Flip around to evenly coat both sides.
Place on baking sheet.
Bake 20-30 minutes. For chicken strip sized pieces, I would check after 20. For thicker chicken breasts, probably after 30. Really depends on your oven. Mine is evil and likes to just pick its own temperature I’m convinced.

image

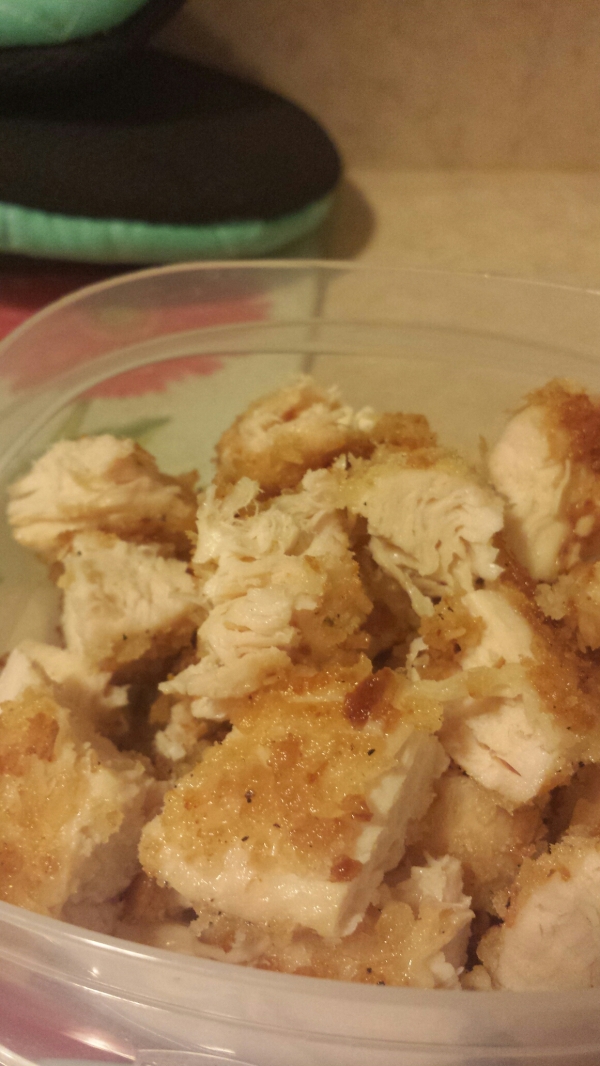
Great as chicken fingers with an Asian dipping sauce or chopped up and put into a salad!

DIY Lamp Part Two

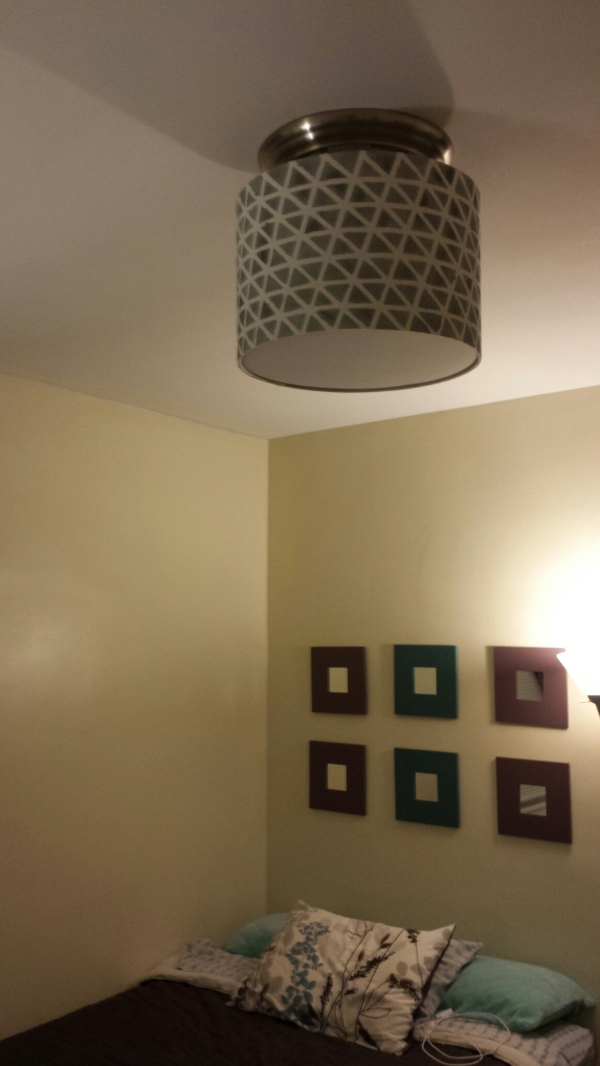
I finally finished my bedroom overhead lamp project.

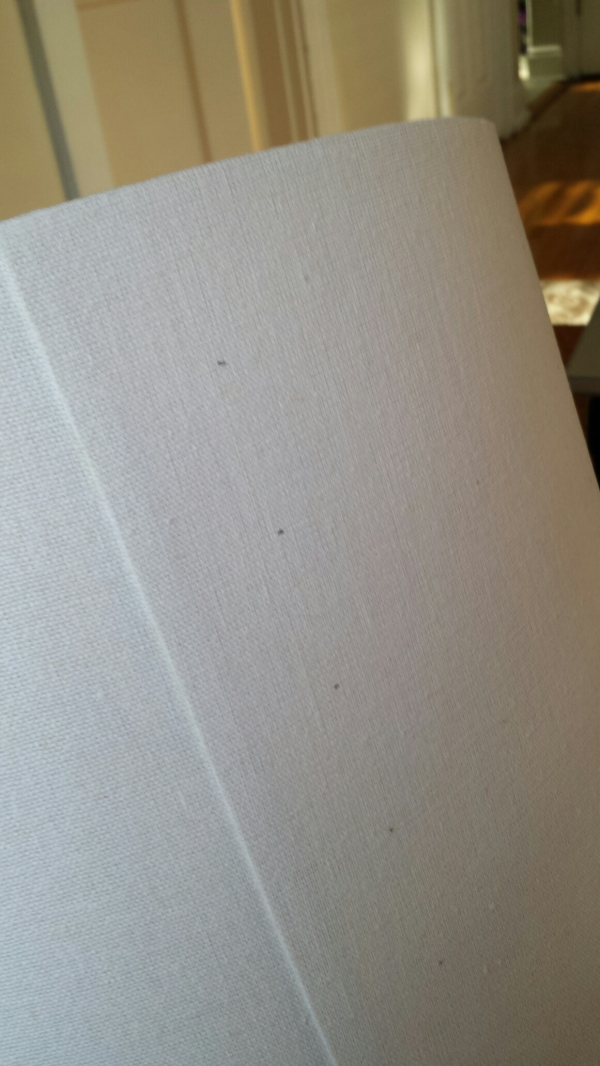
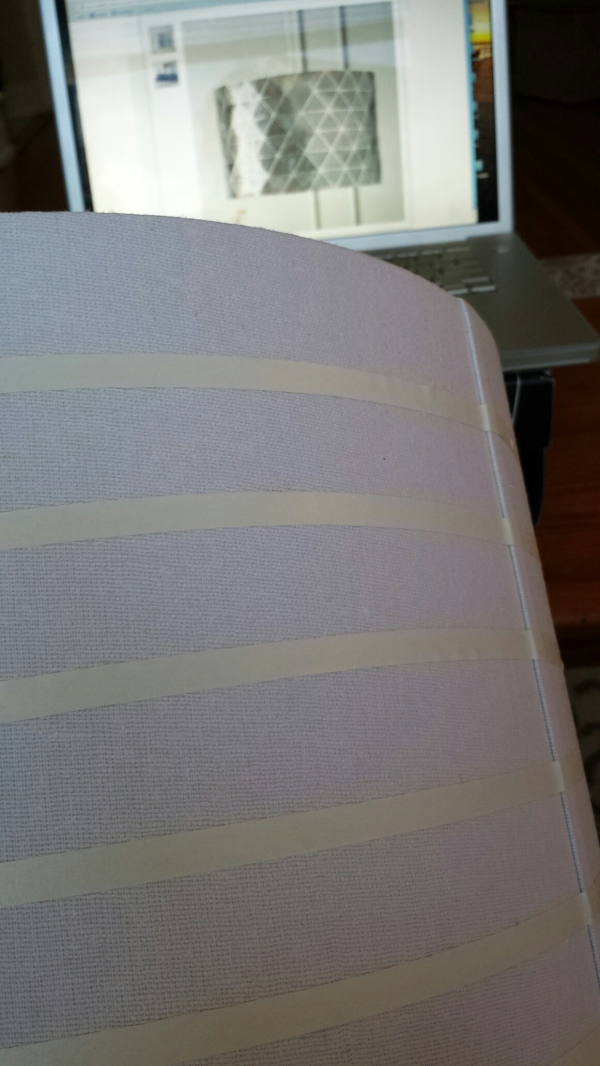
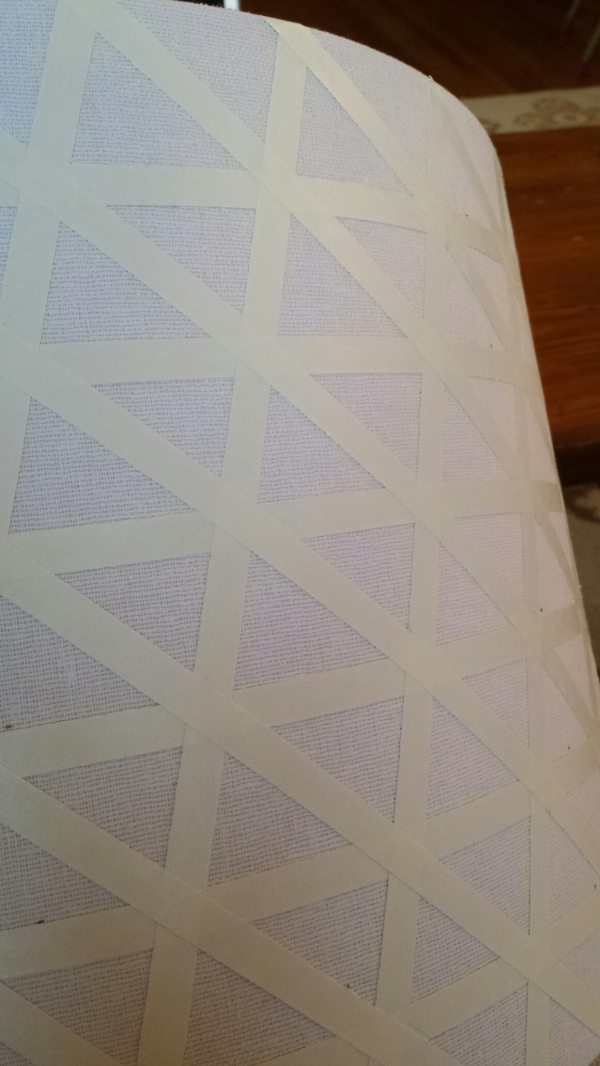
After determining that my clearance West Elm shade fit and looked good, I took the lamp shade down again and started making very faint pencil marks on the shade where I wanted to tape off some lines.

image

image

You can see the lampshade that inspired my design in the background of the second photo. I used artists tape, not painters tape, mostly because I already had it left over from a diy wall art project but also because it’s easier to find in smaller widths. However,  it doesn’t seal as well, so you do get some paint bleeding under the tape edges. I was okay with that because I wanted a less precise,  almost watercolor-esque design.

image

I did not measure the diagonal tape strips. If you want this even, you definitely should.

And then I painted. And painted. And muttered evil things about large lampshades.

Until I ended up with this!

image

Things to note: the silver paint is fairly opaque, so the shade doesn’t let as much light through as it did before I painted it.  Light still comes through at the top and bottom and through the parts that were taped off. I have two other lamps in this room, so it’s not an issue for me. Just don’t paint your entire lampshade black and then wonder why your room is suddenly so dim.